How to take the best photo for a virtual try-on
Updated October 16, 2026 · 5 min read
A virtual try-on can only work with what your photo shows. The AI keeps your face, hair and pose and redraws the clothes, so a clear, evenly lit photo gives it far more to work with than a dark selfie at arm’s length. These eight tips take a minute to follow and make the biggest difference to the result.
1. Face the camera, stand straight
A front-facing photo, shoulders square to the camera, is what try-on models handle best. The garment is drawn onto the outline of your body, and a straight-on pose shows that outline clearly. Turned shoulders, crossed arms or a strong lean leave parts of the body hidden, and the AI has to guess what the clothes would do there.
Let your arms hang loosely a little away from your body. Hands on hips are fine; hands in pockets or arms folded over the chest hide exactly the area a top or jacket needs.
2. Use soft, even light
Daylight from a window in front of you is ideal. Avoid a bright window behind you, which turns you into a silhouette, and hard overhead light that throws deep shadows under the chin and arms. Shadows get read as part of the clothing and can show up as dark patches in the result.
Quick check: if you can see the color of what you are wearing clearly in the photo, the light is good enough.
3. Frame as much of you as the garment covers
Match the photo to the item. A T-shirt or shirt needs your upper body from the head to below the waist. A dress, coat or trousers need a full-length photo. If you try a full-length dress on a head-and-shoulders photo, the AI has to invent everything below the frame, and that is where results go wrong.
- Tops, knitwear, shirts: head to hips.
- Jackets and blazers: head to mid-thigh.
- Dresses, coats, full outfits: head to feet, with a little space around you.
4. Wear something fitted and plain
What you wear in the photo is replaced, but it still shapes the result. Fitted, plain clothes show your build; a bulky coat or an oversized hoodie makes the AI dress a larger shape than you are. Busy prints and large logos can also leak through into the new garment.
A plain T-shirt and slim trousers or leggings is the most reliable base for trying on almost anything.
5. Keep the background simple
A plain wall or an uncluttered room helps the AI separate you from the scene. Mirrors behind you, other people, or a background the same color as your clothes make the edges harder to find. The background usually stays the same in the result, so pick one you are happy to see.
6. One person, close enough to see the details
Use a photo with only you in it. Group photos make it unclear who should be dressed. You should fill most of the height of the frame; a small figure in a wide shot gives the AI very few pixels to work with, and details like collars and buttons come out blurry.
7. Avoid filters, heavy edits and extreme angles
Beauty filters, strong color grading and wide-angle selfies at arm’s length distort proportions and colors, and the try-on carries those distortions over. Ask someone to take the photo from chest height, or use a timer with the phone propped at that height.
8. Pair it with a clean clothing photo
The garment photo matters as much as yours. The best input is the item on its own, front-on, on a plain background: the main picture from a shop page, or a flat-lay or hanger photo. A photo of a complete outfit on a model tends to change more than one piece. If you do not have one, start from our wardrobe to see what a good input looks like.
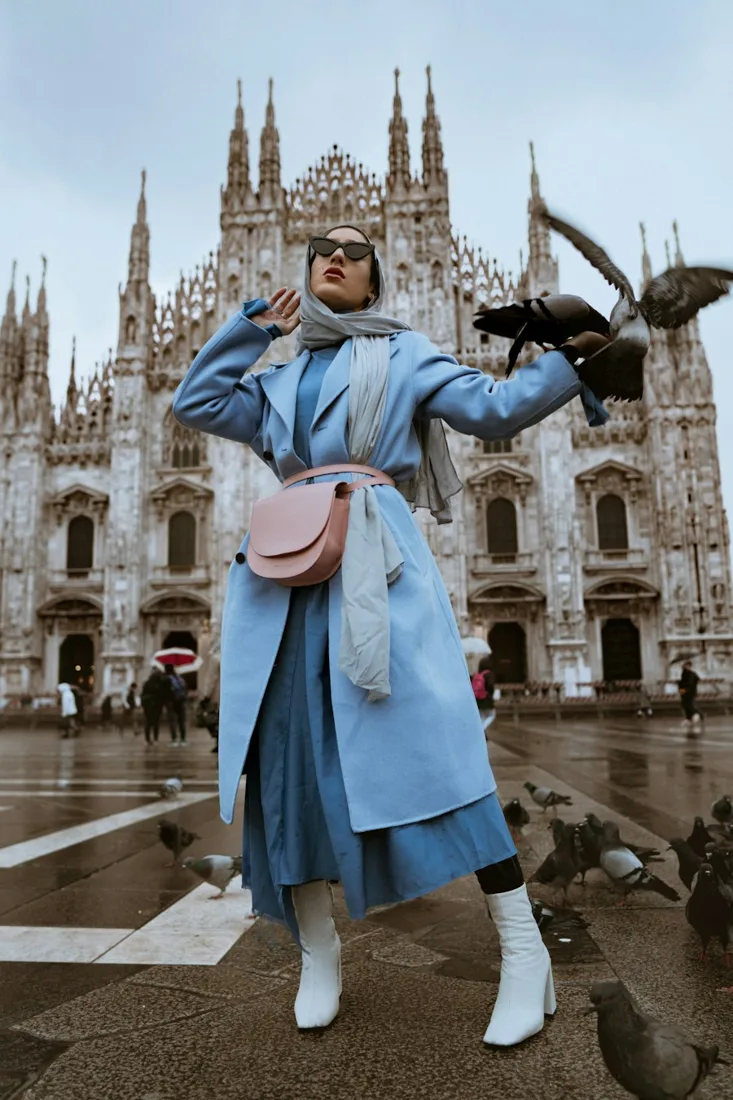
Person photo
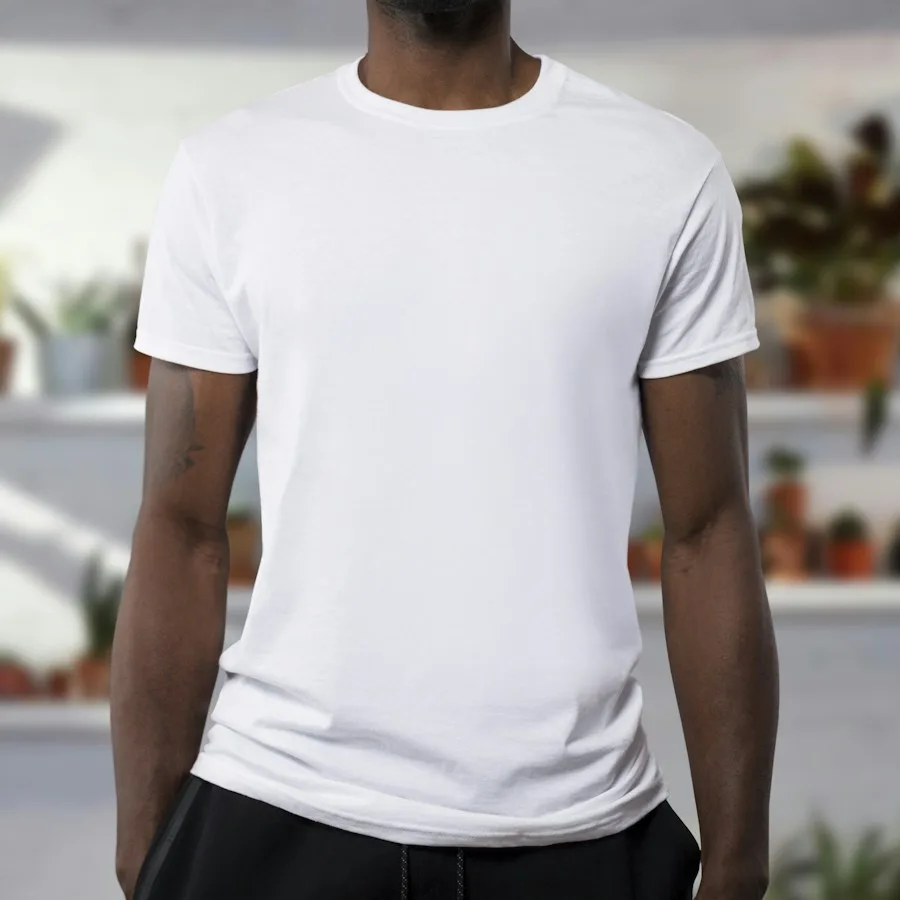
Clothing photo
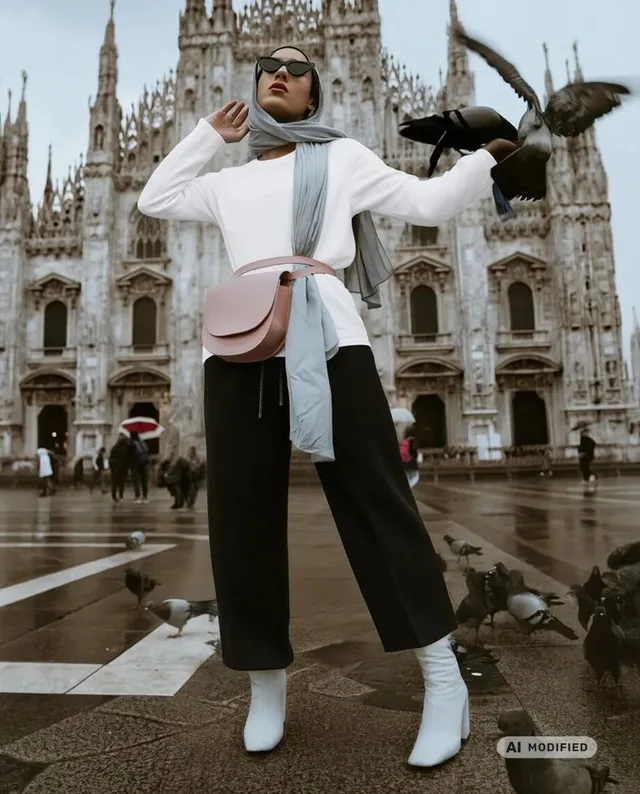
AI result
Quick checklist
- Facing the camera, arms relaxed.
- Soft light from the front, no strong shadows.
- Framed to cover the whole garment.
- Fitted, plain clothes.
- Simple background, only you in the photo.
- No filters, taken from chest height.
- A clean, front-on photo of the clothing.
Ready? Try it on with your photo, or try on clothes from a shop before you buy.